
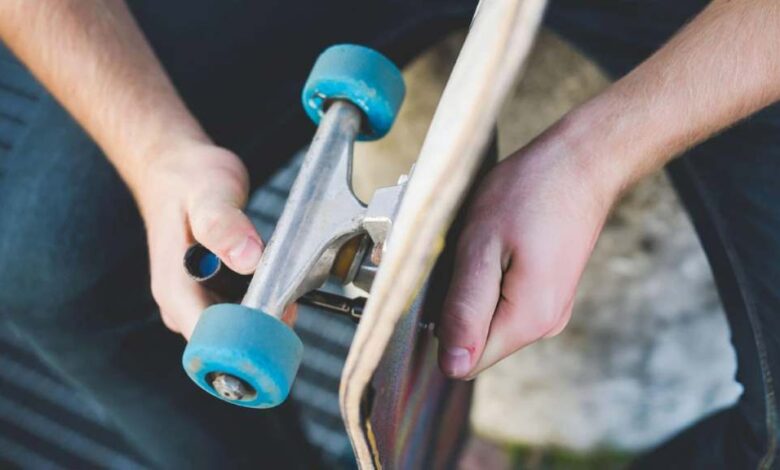
Skateboarding is all about freedom, flow, and feeling the wind in your hair as you cruise. But let’s be real, those wheels take a beating. Grime, pebbles, and sticky substances can accumulate, turning your smooth ride into a bumpy, sluggish drag. Keeping your wheels clean isn’t just about aesthetics; it’s one of the key skateboard essentials that drastically improves performance and extends their lifespan.
This guide is your one-stop shop for achieving squeaky-clean skateboard wheels, whether you’re a seasoned shredder or a fresh-faced newbie. We’ll break down the process step-by-step, offering pro tips and tricks along the way.
Gather Your Gear
Before you dive in, make sure you have everything you need. No one wants to be scrambling for a wrench mid-clean! Here’s your checklist:
Skate tool: Essential for removing your wheels.
Bucket or basin: For soaking those grimy wheels.
Warm water: Helps loosen dirt and debris.
Dish soap: A classic grease-cutting champion.
Old toothbrush or cleaning brush: For scrubbing away stubborn grime.
Wire brush: (Optional) For tackling tougher, caked-on dirt.
Towel or rags: For drying your wheels.
Bearing cleaner: (Optional) For a deep clean of your bearings.
Bearing lubricant: (Optional) To keep your bearings rolling smoothly.
Wheel Removal: Detach and Conquer
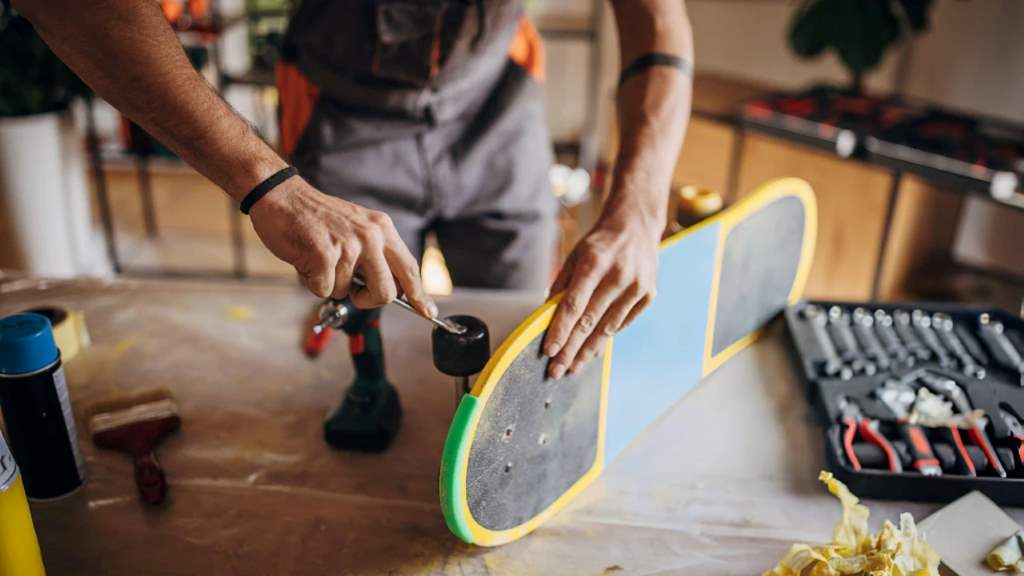
Time to get those wheels off! Grab your trusty skate tool and follow these simple steps:
Loosen the axle nuts: Turn the nuts counter-clockwise until the wheels spin freely.
Remove the wheels: Slide the wheels off the axles.
Keep track of your hardware: Axle nuts and washers are small and easily lost. Keep them organized in a small container or bag.
Bearing Extraction (Optional): A Deeper Dive
If you’re going for a full-blown deep clean, you’ll need to remove the bearings. While this step is optional, it’s highly recommended for optimal performance and longevity.
Use your skate tool: Most skate tools have a built-in bearing removal tool.
Carefully pry out the bearings: Position the tool correctly and apply gentle pressure to pop the bearings out.
Handle with care: Bearings are delicate. Avoid dropping them or applying excessive force.
The Soaking Solution: Release the Grime
Fill your bucket or basin with warm water and add a generous squirt of dish soap. Submerge your wheels (and bearings, if removed) and let them soak for at least 15-20 minutes. This will loosen up the dirt and grime, making the scrubbing process much easier. For more tips on maintaining your gear, check out Skateboardtrends for expert advice.
Pro Tip: For extra dirty wheels, consider adding a degreaser to the soaking solution.
Scrub-a-dub-dub: Time to Shine
Now for the elbow grease! Grab your toothbrush or cleaning brush and scrub away any remaining dirt and debris. Pay close attention to the wheel’s core and any crevices where grime tends to hide.
For stubborn grime: Use a wire brush, but be careful not to damage the urethane of the wheel.
Rinse and repeat: Rinse the wheels thoroughly with clean water and repeat the scrubbing process if necessary.
Bearing TLC (Optional): Smooth Operator
If you removed your bearings, now’s the time to give them some love.
Use a bearing cleaner: Follow the instructions on your chosen cleaner to remove dirt and old lubricant.
Dry thoroughly: Use a clean cloth or compressed air to dry the bearings completely.
Lubricate: Apply a few drops of bearing lubricant to each bearing and spin them to distribute evenly.
Drying Time: Air It Out
Once your wheels and bearings are sparkling clean, it’s crucial to dry them thoroughly. Excess moisture can damage bearings and affect performance.
Towel dry: Wipe down the wheels and bearings with a clean towel.
Air dry: Allow the skateboard truck wheels and bearings to air dry completely before reassembly.
Reassembly: Back in Action
Time to put everything back together!
Insert the bearings: Carefully press the bearings back into the wheels.
Reattach the wheels: Slide the wheels back onto the axles, ensuring the washers are in place.
Tighten the axle nuts: Tighten the nuts clockwise until snug, but don’t overtighten. The wheels should spin freely without any side-to-side play.
The Final Spin: Smooth Sailing
Give your skateboard a test spin! You should notice a smoother, faster ride thanks to your cleaning efforts.
Pro Tip: Clean your wheels regularly, especially after skating in wet or dirty conditions, to maintain optimal performance and extend their lifespan.
Beyond the Basics: Extra Tips and Tricks
Preventative measures: Avoid skating through puddles or excessively dirty areas whenever possible.
Wheel rotation: Rotate your wheels periodically to promote even wear.
Storage: Store your skateboard in a clean, dry place when not in use.
Conclusion
Cleaning your skateboard wheels may seem like a small task, but it makes a world of difference in your riding experience. By following these simple steps and incorporating regular cleaning into your routine, you’ll enjoy smoother rides, longer-lasting wheels, and more time shredding the streets. So grab your cleaning supplies, get those wheels sparkling, and get back to doing what you love!