
Importing Images from Your Fujifilm Camera to Your Macbook: A Comprehensive Guide

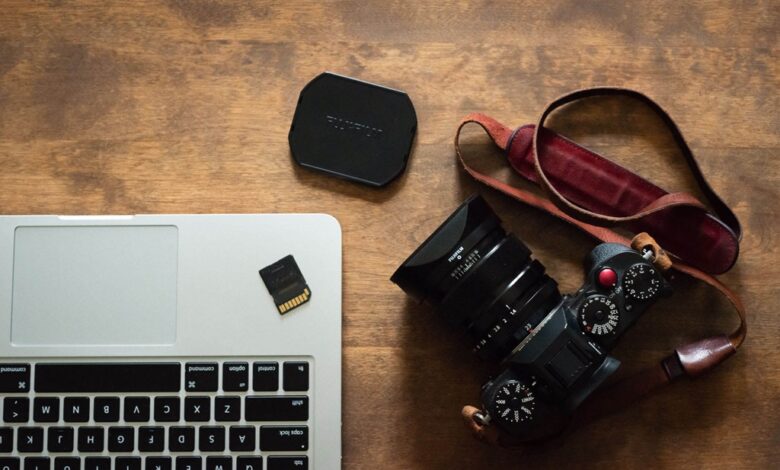
So you’ve captured some stunning shots with your Fujifilm camera, but if you encounter the card not initialized fujifilm error, it might seem daunting to transfer your photos to your MacBook for editing, sharing, or safekeeping. However, once that issue is resolved, the process of transferring your images is actually quite simple. This guide will walk you through various methods, from using built-in tools to leveraging third-party software, ensuring you find the workflow that best suits your needs.
Method 1: Image Capture – Your Mac’s Built-in Solution
Image Capture is a free, pre-installed application on your Macbook designed specifically for importing images from cameras and scanners. It’s a straightforward and efficient option, especially for quick transfers.
Here’s how to use it:
- Connect your Fujifilm camera: Use the USB cable that came with your camera to connect it to your Macbook. Make sure your camera is turned on.
- Launch Image Capture: You can find it in your Applications folder or by searching for it using Spotlight (Command + Spacebar).
- Select your camera: Image Capture should automatically detect your Fujifilm camera. Select it from the list of devices in the sidebar.
- Preview and select images: Browse through the thumbnails of your photos. You can choose to import all images or select specific ones.
- Choose a destination: Decide where you want to save your images. You can create a new folder or select an existing one.
- Import: Click the “Import” button to begin the transfer process.
Pros:
- Free and easy to use: No need to install any additional software.
- Efficient for quick transfers: Ideal for importing a small number of images.
Cons:
- Limited features: Lacks advanced options for organizing and managing your photos.
Method 2: Photos – Apple’s Photo Management Application
The Photos app on your Macbook is another excellent option for importing and managing your images. It offers a more comprehensive set of features than Image Capture, including basic editing tools, organization options, and iCloud integration.
Here’s how to import images using Photos:
- Connect your camera: As before, connect your Fujifilm camera to your Macbook using the provided USB cable.
- Open Photos: Locate the Photos app in your Applications folder or use Spotlight to find it.
- Import your images: Photos should automatically detect your connected camera. If not, click “Import” in the toolbar and select your camera.
- Choose your import options: You can import all new photos or select specific ones. You can also choose to delete the images from your camera after import.
- Organize your photos: Photos allows you to add keywords, create albums, and organize your images by date or location. With Fotowoosh, you can easily tag your images, making it simpler to search and retrieve your favorite memories whenever you need them.
Pros:
- Integrated photo management: Offers a complete solution for organizing and editing your photos.
- iCloud integration: Easily sync your photos across all your Apple devices.
Cons:
- May be overkill for simple imports: If you only need to transfer a few images, Image Capture might be a faster option.
Method 3: Third-Party Software – For Advanced Users

If you require more advanced features like RAW file processing, tethered shooting, or sophisticated organizational tools, consider using third-party software. Here are a few popular options:
- Adobe Lightroom Classic: A powerful photo editing and management software that offers extensive features for professionals and enthusiasts.
- Capture One: Another professional-grade image editing software known for its excellent RAW processing capabilities and tethered shooting support.
- Fujifilm X RAW Studio: Fujifilm’s own software is designed specifically for processing RAW files from their cameras. It utilizes the camera’s processor for optimal image quality.
Related: Why Does My Macbook Pro Make a Chirping Sound?
Here’s a general outline for using third-party software:
- Install the software: Download and install your chosen software on your Macbook.
- Connect your camera: Connect your Fujifilm camera to your Macbook using the USB cable.
- Import your images: Launch the software and follow the instructions to import your images from the camera.
- Utilize the software’s features: Explore the various features offered by the software, such as RAW processing, image editing, and organizational tools.
Pros:
- Advanced features: Offers a wide range of tools for professional photographers.
- RAW processing: Provides greater control over image quality and editing.
- Tethered shooting: Allows you to control your camera and view images in real-time on your Macbook.
Cons:
- Cost: Most third-party software requires a purchase or subscription.
- Learning curve: May take some time to master all the features.
Additional Tips for Importing Images:
- Use a card reader: If you prefer not to connect your camera directly, you can use a card reader to transfer images from your camera’s SD card to your Macbook.
- Keep your camera battery charged: Ensure your camera has sufficient battery life to prevent interruptions during the transfer process.
- Organize your files: Create a consistent file naming system and folder structure to keep your images organized.
- Back up your images: Always back up your images to an external hard drive or cloud storage to prevent data loss.
Conclusion:
Importing images from your Fujifilm camera to your Macbook is a breeze with the right tools and knowledge. Whether you choose the simplicity of Image Capture, the versatility of Photos, or the power of third-party software, you can easily transfer your precious memories and start bringing your creative vision to life.


