
Have you ever been bothered by the constant drip of a leaky shower faucet? Not only is it an annoyance, but it’s also wasteful and can lead to increased water bills. Fortunately, fixing a leaky shower faucet with a single handle is a task you can tackle on your own. In this guide, we’ll walk you through the step-by-step process of identifying the issue and making the necessary repairs, all while conserving water and saving money.
Understanding the Basics
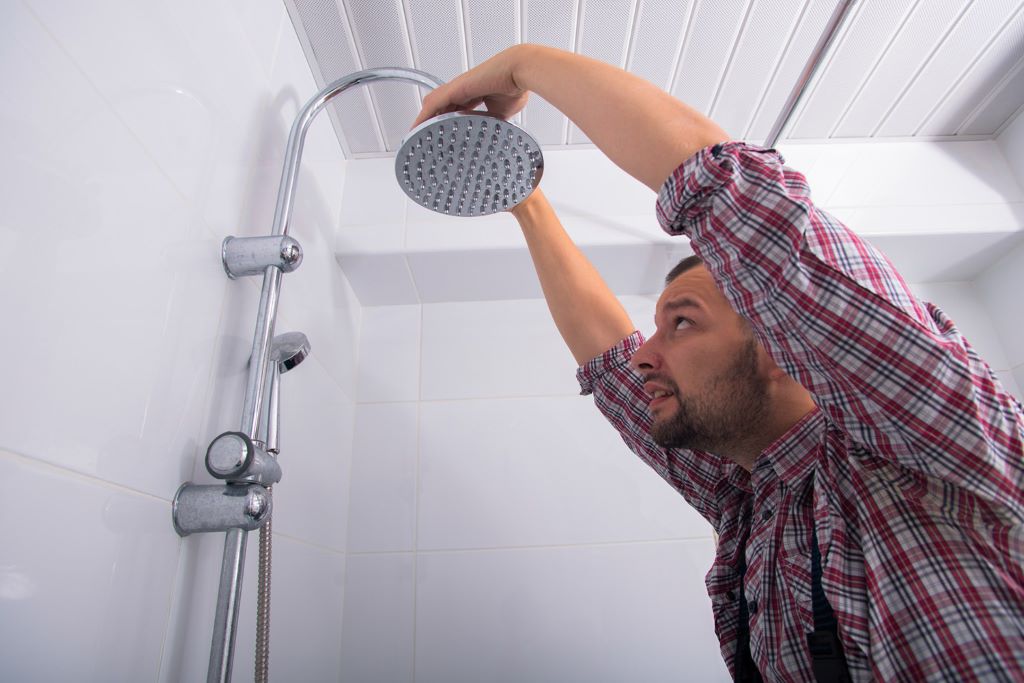
Before you begin, it’s essential to understand the components of a shower faucet. A single-handle shower faucet consists of a handle, a cartridge, and various seals. The cartridge is a crucial part that controls water flow and temperature. When any of these components are worn out or damaged, leaks can occur.
Gathering Your Tools
To fix a leak in your outdoor faucet, you’ll need a few tools such as an adjustable wrench, pliers, screwdriver, and a replacement cartridge. Make sure to turn off the water supply to the faucet before starting any repairs. If you’re having trouble reaching the faucet because the outdoor faucet too low to the ground, try using a stool or stepping stone to elevate yourself.
Disassembling the Faucet
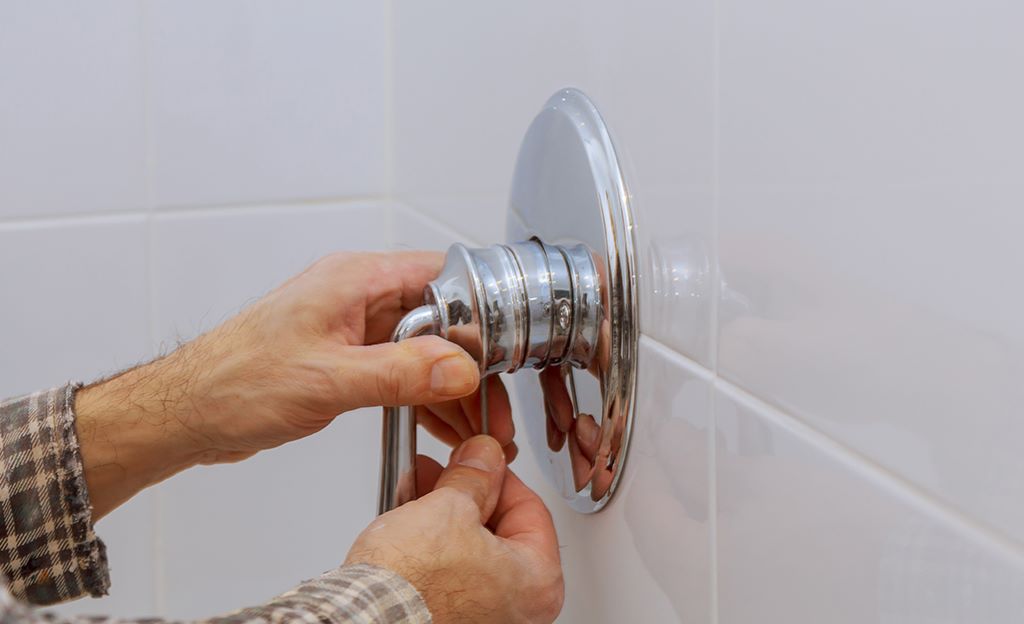
Start by removing the handle, which is often secured with a screw hidden beneath a cover. Once the handle is off, you’ll need to remove the trim and faceplate to access the cartridge.
Inspecting and Replacing the Cartridge
Carefully remove the cartridge and inspect it for any visible damage or wear. If you notice any cracks or signs of deterioration, it’s time to replace it with a new one. Make sure to choose a cartridge that matches the brand and model of your faucet.
Replacing Seals and O-Rings
While you have the faucet disassembled, it’s a good idea to replace the seals and O-rings as well. These components can degrade over time, leading to leaks. By replacing them, you ensure a tight seal and prevent future issues.
Reassembling the Faucet
With the new cartridge and seals in place, carefully reassemble the faucet in the reverse order you took it apart. Make sure all parts are properly aligned and tightly secured.
Testing the Repair
Before fully reassembling the faucet handle, turn on the water supply and test the repairs. Check for any leaks and ensure that the water flow and temperature are functioning correctly.
Completing the Repair
If the test is successful and there are no leaks, you can reattach the handle and any other components you removed. Tighten the handle’s screw and replace the cover.
Conserving Water and Preventing Future Leaks
Fixing a leaky shower faucet isn’t just about stopping the drip; it’s also about conserving water. A single leak can waste a significant amount of water over time. By promptly addressing leaks, you’re contributing to water conservation efforts and saving money on your water bills.
Conclusion
Taking matters into your own hands when it comes to fixing a leaky shower faucet single handle is a practical and rewarding endeavor. Not only do you save money and water, but you also gain a sense of accomplishment by successfully completing a DIY repair, such as learning how to remove a tub drain. Remember, with a few tools and a bit of patience, you can conquer that annoying drip and enjoy a leak-free shower once again.
FAQs
Q1: Can I fix a leaky shower faucet if I have limited DIY experience?
Absolutely! This guide provides a step-by-step process that’s easy to follow, even for beginners.
Q2: Why is it essential to fix a leaky faucet promptly?
Aside from water waste, leaks can lead to water damage, mold growth, and higher utility bills. Fixing them promptly prevents these issues.
Q3: Can I replace the cartridge with any brand?
It’s recommended to use a cartridge that matches your faucet’s brand and model to ensure compatibility.
Q4: Are there situations where I should call a professional plumber?
If you’re unsure about any step in the process or encounter unexpected difficulties, consulting a professional plumber is a wise decision.
Q5: How much water can a leaky faucet waste?
Even a slow drip can waste several gallons of water per day, which adds up over time. Repairing leaks helps conserve this precious resource.