

When it comes to home improvement projects, one task that often seems daunting is removing a bathtub. Whether you’re upgrading your bathroom or dealing with a worn-out bathtub, knowing how to tackle this task can save you time and money. In this comprehensive guide, we’ll walk you through the step-by-step process of removing a bathtub like a pro. So, roll up your sleeves, put on your DIY cap, and let’s get started! This article is presented by Marypwaters.com.
Gathering the Necessary Tools
Before you begin, make sure you have all the tools you need for a smooth removal process. These include:
- Adjustable wrench
- Screwdrivers
- Pliers
- Utility knife
- Reciprocating saw
- Pry bar
- Safety goggles and gloves
Turning off the Water Supply
Before getting started, make sure to turn off the water supply to the bathtub. This is typically done by shutting off the water valves connected to the faucet. If you’re planning to install a shower tray, now would be a good time to do so. Once the water supply is turned off, you can begin your project with confidence knowing that you’ve taken the necessary safety precautions.
Removing the Faucet and Fixtures
- Start by removing the faucet handles and any other fixtures using a screwdriver. These may be attached with screws or bolts that need to be loosened.
- Once the fixtures are off, use an adjustable wrench to disconnect the water supply lines. Make sure to have a bucket handy to catch any remaining water in the lines.
Disconnecting the Drain
- Locate the access panel to the bathtub’s drain. This could be on the wall behind the tub or underneath the tub itself.
- Use pliers to loosen the nuts that connect the drain pipe. You might need a bucket again to catch any water that comes out. Discover How to Remove an Easement from Your Property in Victoria.
Cutting and Removing the Tub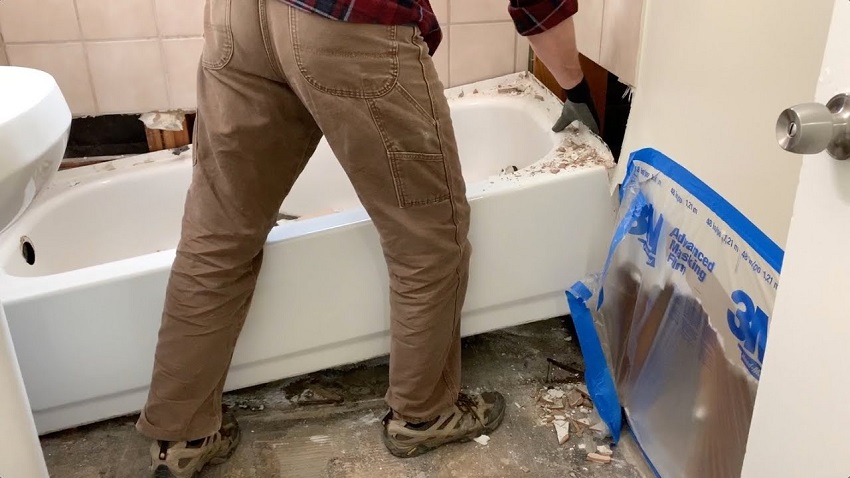
- Put on your safety goggles and gloves before you start cutting. Use a reciprocating saw to carefully cut through the caulk and any screws or nails securing the tub to the walls.
- Once the tub is disconnected, carefully lift it using a pry bar. Enlist a helper if the tub is heavy.
- If the tub is cast iron, you may need to break it into smaller pieces for easier removal. Use a sledgehammer, but be cautious and wear appropriate protective gear.
Cleaning Up
With the tub out of the way, it’s time to clean up the area. Remove any remaining caulk, nails, or debris. This is also a good time to inspect the plumbing for any damage or leaks that might need attention.
Congratulations! You’ve successfully removed your old bathtub, making way for exciting bathroom renovations. Remember, this process requires careful attention to detail and safety precautions, so take your time and follow each step meticulously.
Conclusion
Removing a bathtub might seem like a daunting task, but armed with the right tools and a step-by-step guide, you can tackle it like a seasoned DIY pro. From turning off the water supply to disconnecting the drain and cutting out the tub, each step plays a crucial role in ensuring a successful removal process. Remember, safety first, and don’t hesitate to seek professional help if needed. Happy renovating!
So, whether you’re upgrading your bathroom’s aesthetic or simply replacing an old tub, following this comprehensive guide will help you navigate the process with confidence. Now that you have a clear understanding of how to remove a bathtub, you’re one step closer to achieving your bathroom renovation goals.