


Surfboards are the ultimate companion for surfers, slicing through waves and enabling unforgettable experiences in the ocean. However, even the most well-maintained boards are bound to encounter dings at some point. While you could head straight to a professional for repairs, the costs can quickly add up. For first-timers who might not have the budget to spare, don’t fret—there are practical, affordable ways to fix your surfboard without breaking the bank. In this article, we’ll dive into budget-friendly surfboard repair hacks, share expert tips, and help you keep your board in perfect condition for your next adventure. While you’re at it, be sure to explore Coolsurfinggear for more surfboard tips and tricks.
What Causes Surfboard Dings and Why Should You Fix Them?
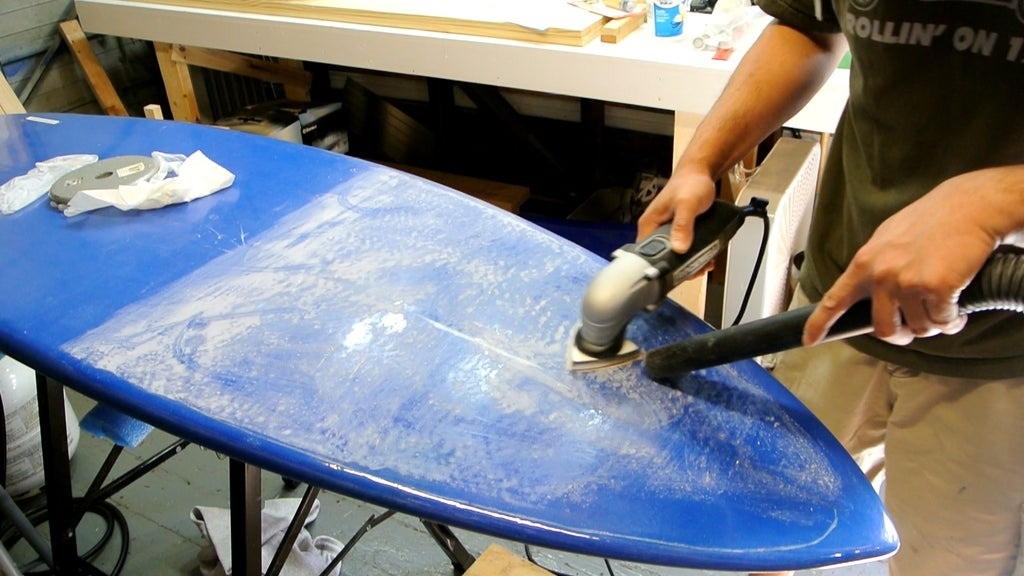
Surfboard dings can happen for a variety of reasons. Whether it’s accidental collisions with rocks, rough handling during transport, or wiping out on a sharp reef, dings are an inevitable part of a surfer’s journey. But leaving a ding unattended can lead to further damage. Water can seep into the foam core, compromising the board’s structural integrity and performance. Over time, this could result in costly, irreversible damage.
Fixing dings as soon as possible ensures your surfboard remains watertight, lightweight, and responsive—everything you need to perform your best on the waves. Plus, repairing it yourself can save you significant time and money, especially if you’re on a tight budget. If you’re serious about surfing, consider watching professional events like the surfing junior world championships. These competitions showcase the sport’s rising talent and often include insights on board care and performance.
Understanding the Basics of Surfboard Repair Materials
Before jumping into the repair process, it’s essential to familiarize yourself with the materials you’ll need. Surfboards are typically made from polyurethane or epoxy foam, and each requires slightly different repair techniques.
- Epoxy Resin: Compatible with both epoxy and polyurethane boards, epoxy resin is lightweight, durable, and cures quickly.
- Polyester Resin: Best suited for polyurethane boards but can’t be used on epoxy boards (it’ll melt the foam!).
- Fiberglass Cloth: Reinforces the repair area, ensuring a long-lasting fix.
- Sandpaper: Used to smooth out the ding area before and after applying resin.
- Solar Resin Kits: A beginner-friendly option, solar resins are pre-mixed and cure under sunlight, making them perfect for quick fixes.
Having these materials on hand will make any repair process easier and more effective.
DIY Surfboard Repair for Small Dings
Fixing a small ding yourself is surprisingly simple if you follow the right steps. Here’s a step-by-step guide:
- Assess the Damage:
Examine the ding to determine its size and severity. Is it just a surface scratch, or has water seeped into the foam core? For small cracks or surface-level dings, a basic repair kit will usually do the trick. - Clean and Dry the Area:
Before you start, ensure the ding is completely dry. Any moisture trapped inside can weaken the repair and cause delamination. Use a clean cloth to wipe the area and leave it to air dry for at least 24 hours. - Sand the Ding Area:
Using medium-grit sandpaper, sand the damaged area to create a smooth surface. This will help the resin adhere properly to the board. - Apply Solar Resin:
For minor dings, solar resin is a lifesaver. Simply squeeze the resin onto the ding, spread it evenly with a plastic spatula, and place the board in direct sunlight. The resin should harden in about 10-15 minutes. - Sand and Polish:
Once the resin has cured, use fine-grit sandpaper to smooth the surface and blend it with the rest of the board. If desired, polish the area for a seamless finish.
Intermediate Repair Tips for Larger Dings
For larger dings or those that have exposed the foam core, the repair process becomes slightly more involved. However, it’s still manageable with the right tools and patience.
- Remove Damaged Material:
Using a sharp knife or razor blade, cut away any broken fiberglass or foam around the ding. This prevents weak spots from undermining the repair. - Fill the Ding:
Mix your resin and hardener according to the manufacturer’s instructions. Apply the mixture to the damaged area, ensuring it fills any gaps in the foam. - Add Fiberglass Cloth:
Cut a piece of fiberglass cloth slightly larger than the ding and lay it over the repair. Apply another layer of resin to saturate the cloth, ensuring it adheres properly. - Let It Cure:
Leave the board to cure for several hours (or as directed). Make sure it’s in a dry, ventilated area and away from direct sunlight during this step. - Sand and Paint:
Once cured, sand the area smooth and consider applying a fresh coat of paint or sealant to match your board’s design.
How to Prevent Dings in the First Place
While it’s impossible to avoid every ding, taking precautions can reduce the likelihood of damage.
- Use a Board Bag: A padded board bag protects your surfboard from dings caused by accidental bumps during transport.
- Inspect Your Leash: A strong, well-maintained leash ensures your board stays close during wipeouts, reducing the risk of hitting rocks.
- Be Mindful of Your Surroundings: Pay attention to your environment, especially in crowded surf spots or areas with shallow reefs.
The Role of Surfboard Maintenance in Longevity
Regular maintenance is key to keeping your surfboard in top shape. Clean your board with fresh water after every session, inspect it for dings, and store it in a cool, shaded area. A little TLC can go a long way in extending the life of your board.
Read More Also: The Ins and Outs of Regular Semi-Truck Maintenance: A Comprehensive Guide
FAQs
What is the easiest way to fix a small ding on a surfboard?
Using a solar resin kit is the quickest and most budget-friendly solution for small dings. It’s easy to apply and cures in sunlight.
Can I use regular glue to fix my surfboard?
No, regular glue isn’t designed for surfboard repairs. Always use resin specifically formulated for surfboards to ensure durability and performance.
How long does it take to repair a ding?
For small dings, solar resin repairs can take as little as 15 minutes to cure. Larger repairs involving fiberglass may take several hours to fully harden.
Should I repair my board myself or hire a professional?
It depends on the severity of the damage. Small, surface-level dings can be repaired at home, while larger cracks or delamination issues may require professional help.
What’s the best way to prevent surfboard dings?
Using a padded board bag, inspecting your leash, and being mindful of your surroundings can significantly reduce the risk of dings.
How can I tell if my board has water damage?
Signs of water damage include a heavier weight, bubbling or delamination on the surface, and a soft or spongy texture in the foam core.
Conclusion
Fixing your surfboard doesn’t have to be an expensive ordeal. With these budget-friendly repair hacks, you can keep your board in top condition and spend more time enjoying the waves. Whether you’re a first-time surfer or a seasoned pro, learning how to repair your board is an invaluable skill that will save you money and extend your board’s lifespan.